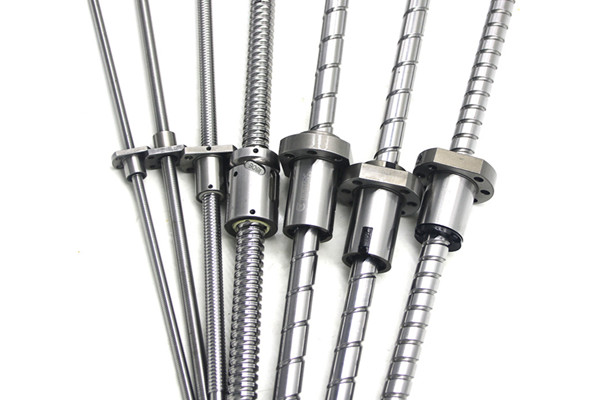
Inspection and repair of clearance between ball screw nut pair and supporting system. When the numerical control machine tool has large reverse error, unstable positioning accuracy and knife marks in the quadrant, the first step is to check whether the screw system has clearance. The detection methods are as follows: put the ball in the center hole of one end of the lead screw with a dial indicator, measure the axial movement of the lead screw, and measure the movement of the worktable with another dial indicator. Turn the screw forward and backward, observe the values reflected on the two dial indicators, and confirm the fault location according to the changes of different values. Specific inspection and repair methods are as follows:
1. Inspection and repair of clearance of lead screw support bearing.
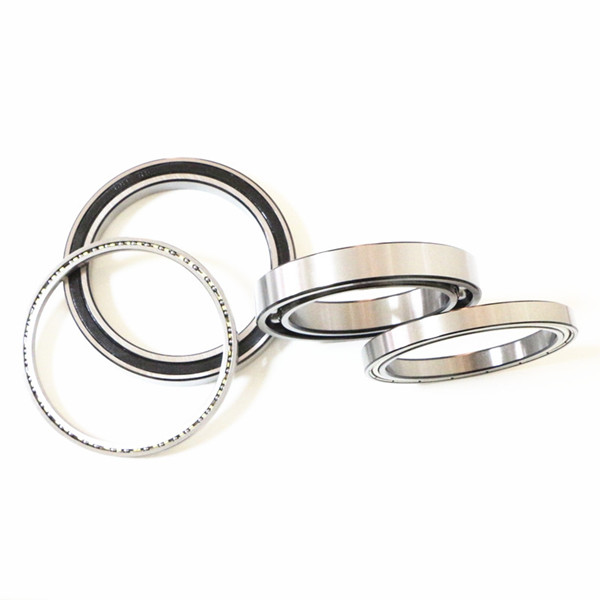
For example, when the dial indicator of the measuring screw rotates forward and backward, the pointer does not swing, indicating that the screw does not move. If the pointer of the dial indicator swings, it means that the lead screw has channeling phenomenon. At this time, we should check whether the back cap of the support bearing is locked, whether the support bearing has worn out and failed, and whether the pre-loaded bearing washer is suitable. If there is nothing wrong with the bearing, just refit it as a preload washer. If the bearing is damaged, it needs to be replaced, re-equipped as a preload washer, and then back the back cap tightly.
2. Inspection and maintenance of clearance produced by double nut pair of ball screw.
Pass the test, if it is confirmed that the fault is not caused by the lead screw movement. It is necessary to consider whether there is a gap between screw and nut pairs, and the detection method in this case is basically the same as the detection of screw movement.
3. Inspection and maintenance of single nut pair.
For single nut ball screw, the gap between screw and nut pair cannot be adjusted. If it is detected that there is a gap between the screw nut pair. First, check whether the thread arcs of the lead screw and nut are worn. If the wear is serious, a complete set of lead screw nuts must be replaced. If the wear is slight, the ball with larger diameter can be replaced for repair.
4. Gap caused by unfixed connection between nut flange and workbench.
This problem is generally easy to be ignored. Because of the long-term reciprocating motion of the machine tool, the screw for fixing the Farah disk is loose, which causes a gap. When checking the gap between the screw and nut, the fault factor should be eliminated first, so as to avoid detours during repair.
5. Maintenance of failures such as unstable movement and excessive noise of ball screw nut pair.
The unstable movement and excessive noise of ball screw nut pair are mostly caused by poor lubrication, but sometimes it may also be caused by improper adjustment of servo motor driving parameters.


 How to choose a suitable ball screw lead
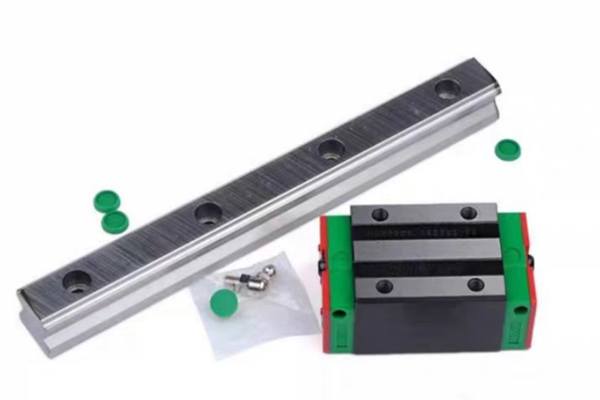
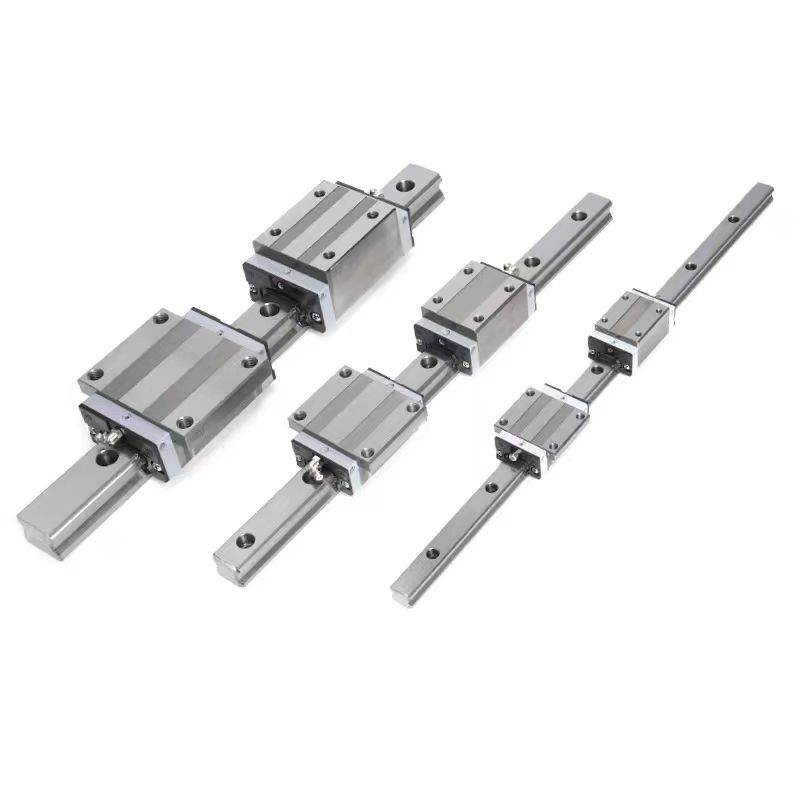
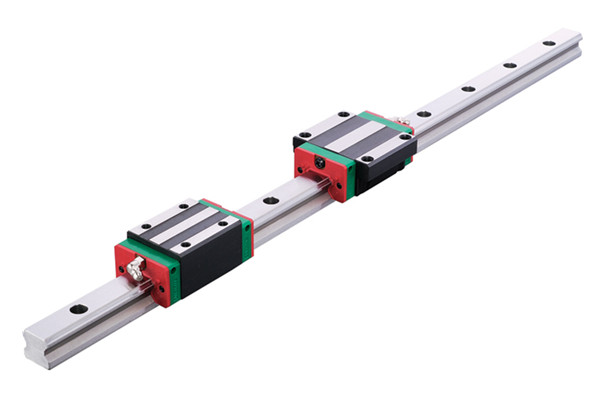
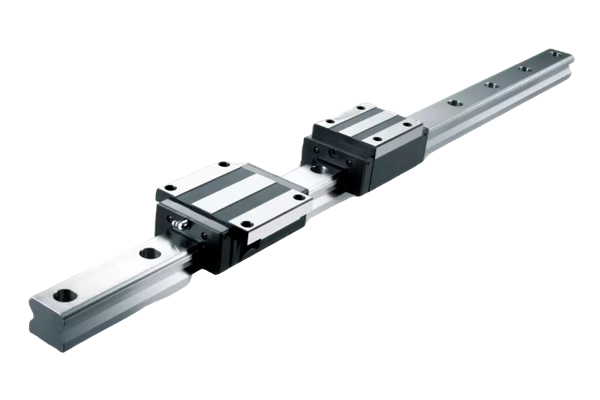
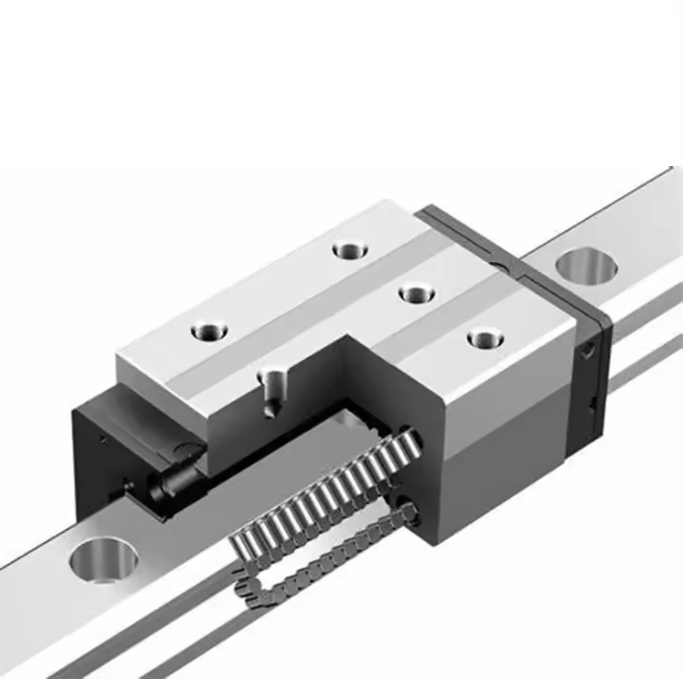
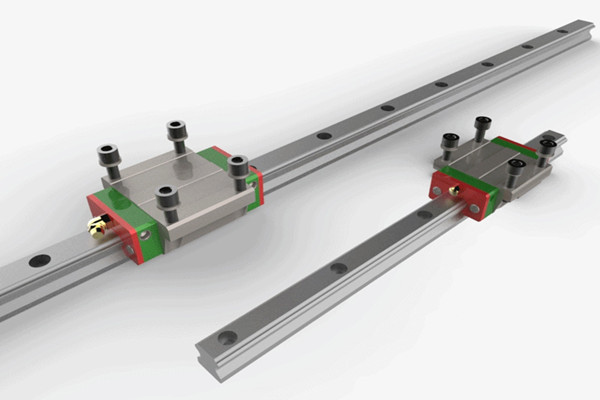
 MG Series- Linear Guideway